Have you ever heard of a two-tone manicure? Do you know how to make a colorful and trendy manicure? In this blog, your expert nail supplier Maryton will tell you how to make an easy two-tone nail art.
1. Nail art preparation
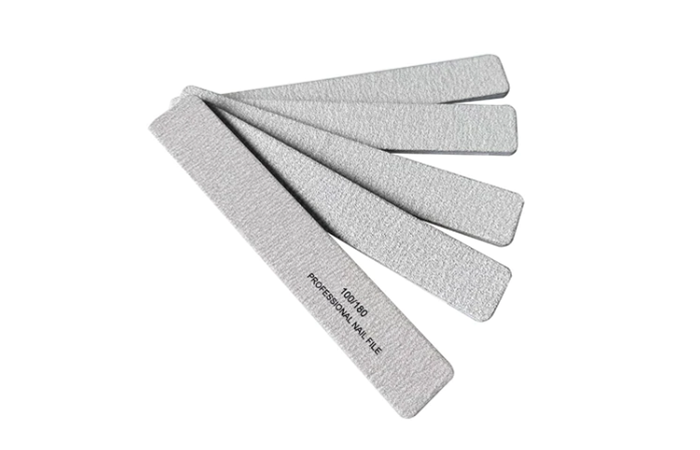
File your nails so that they are short and rounded. Don’t forget to push back your cuticles! After applying a layer of transparent varnish as a base, gently place a thin adhesive strip on the last quarter of your nail.
1000 PCS $199.00
2. Applying nail polish
Choose two nail polish depending on your own preference. Apply one of the tape and the other directly under the tape.
3. Remove the adhesive tape
Remove the adhesive strip just after applying your two nail polishes, before they have dried. This allows you to create a sharper and more precise boundary.
10000 PCS $799.00
4. Finishes
Apply a top coat to fix the whole thing!
Now that you have all the information to achieve a two-tone manicure, all you have to do is get started! In addition to these, I advise you to invest in a complete manicure kit! To help you in your choice, I invite you to visit our website.
Read also: How to adopt the galaxy nail art trend?
You must log in to post a comment.