Semi-permanent varnish is easy to use and can last for two weeks. But inevitably, your nails grow back, and whitish spots appear at the base of the nail. It’s time to remove your semi-permanent varnish. Your expert nail supplier Maryton will give you 2 steps that will allow you to remove your semi-permanent varnish.
Step 1: Prepare the necessary materials
To remove your semi-permanent varnish, you will need:
- Nail polish remover with acetone,
- three squares of cellulose or cotton,
- Aluminum,
- A wooden stick,
- A pumice block,
- a nail moisturizer.

Step 2: The technique to follow
- Cutting each square of cellulose into quarters so that they are the size of the fingernail.
- Thoroughly soaking 5 small squares of cellulose with the solvent.
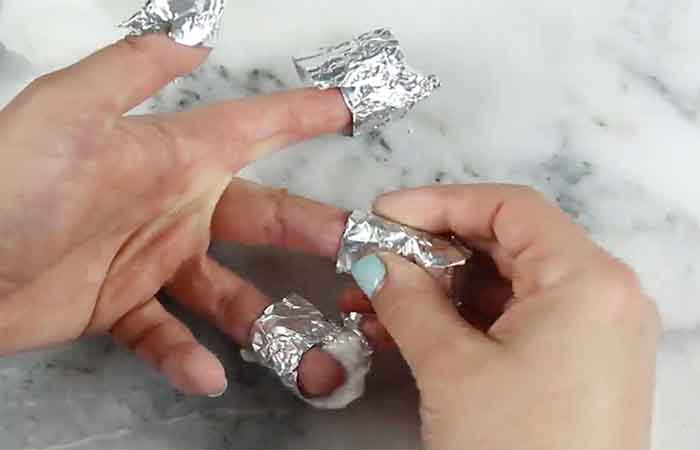
- Take the left hand, place a small square of cellulose on the thumbnail and wrap with a square of aluminum, while maintaining the square of cellulose on the nail.
- Do the same thing for each remaining fingers.
- The break time can be very short, but it is best to leave your hands with this application for 20 minutes.
- Remove the foil wrappers. You will find that the varnish has melted well.
- All that remains is to scrape off the excess on the nails with a wooden stick.
- Sand your nails with a pumice block, to remove any residue. Finish with the application of a moisturizing nail treatment.
We hope you enjoy this article! To get all the necessary equipment, I advise you to invest in a complete manicure set! To help you in your choice, I invite you to visit our website.
Read also: Tips For Highlighting Short Nails
You must log in to post a comment.